MyGeiger - How to connect the kit to RadMon
- RH Electronics
-
 Topic Author
- Offline
- New Member
-

11 years 3 months ago #108
by RH Electronics
http://rhelectronics.net
MyGeiger - How to connect the kit to RadMon was created by RH Electronics
http://www.rhelectronics.net/store/radiation-logger.html
MyGeiger ver.1.00
Required hardware:
1. MyGeiger kit
2. USB-TTL adapter (CP2102 / FTDI FT232 5V/3.3V / PL2303HX)
3. 4pcs of jumper wires female to female
4. USB cable
5. Computer with internet
Connect USB-TTL adapter to the computer and check in Windows control panel you have new virtual com port. Com port number is random and depend how many other com ports you have on your computer. Now disconnect the USB-TTL.
Use 4 jumper wires to connect MyGeiger to USB-TTL adapter. Take note, there is 4 pins you need to use: RX, TX, 5V, GND.
Power line 5V do not have reverse polarity protection, that's why I recommend you to check polarity twice before connecting the USB adapter to the computer!
Connect USB-TTL to the computer. The kit should start working, you do not need to use power switch button. If you are using Radiation Logger navigate to File --> Settings. Press "Get Available Ports", choose your com port where USB-TTL connected, set 2400 baud rate and press "Test Connection" You may wait up to 30 seconds before connection confirmation. After that navigate to File-->radmon.org settings and enter your user name and password. Set conversion factor for your GM Tube and press "Start Log" The application will upload average CPM value to radmon every minute.
MyGeiger ver.2.00
Required hardware:
1. MyGeiger kit
2. USB cable
4. Computer with internet
The second edition do not require to add any TTL adapters because FT232RL IC is already installed on the PCB. You need to install the drivers and just connect the USB cable.
http://rhelectronics.net
Please Log in or Create an account to join the conversation.
- RH Electronics
-
 Topic Author
- Offline
- New Member
-

11 years 1 week ago - 11 years 1 week ago #656
by RH Electronics
http://rhelectronics.net
Replied by RH Electronics on topic MyGeiger - How to connect the kit to RadMon
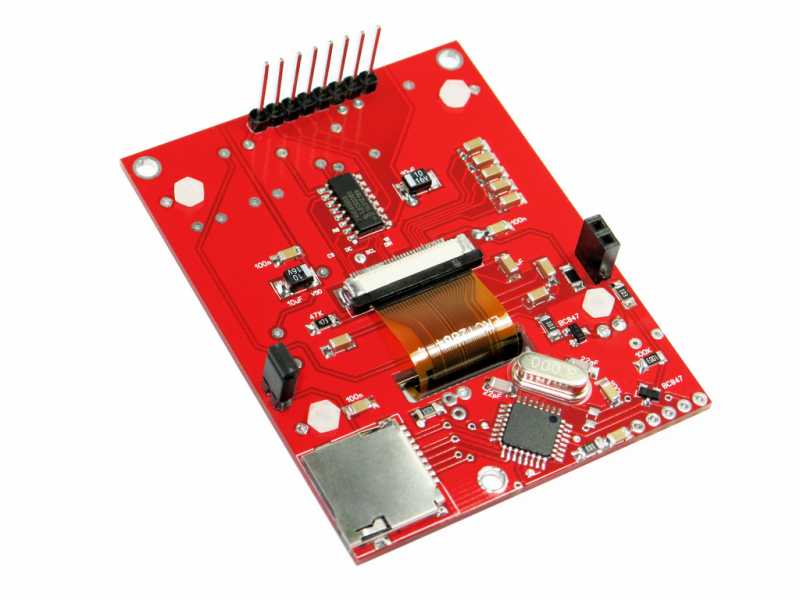
Optional add-on - microSD Logger shield for portable logging  the LCD shield is backward compatible with all boards.
http://rhelectronics.net
Last edit: 11 years 1 week ago by RH Electronics.
Please Log in or Create an account to join the conversation.
Moderators: Gamma-Man
Time to create page: 0.138 seconds


